• BLOG
  • Classes
  • STORE
  • About
Menu

Superholly

  • BLOG
  • Classes
  • STORE
  • About
dsc01597.jpg

PERU is LOVELY

November 26, 2013

Image It’s odd to me the way the phrase “time is money” gets thrown around so non-chalantly as if the formula were that simple. I’m positive it’s much more complicated than that.

I find that when I am making money, I don’t have a whole lot of time to do much of anything, and when I have time, I usually don’t have a barrel of money.

It is true that the more time you are willing to give up, the more money you are able to obtain. It is also true that spending money can contribute in a way to how you enjoy your time (alas, no matter how much I try to fight this one, there’s no way around it). However, at the end of the day, money can flow in like a river just as easily as it can float out like a hot air balloon – what holds true value in this equation is TIME. Opportunities are the real treasure. One MUST take advantage of them whenever possible.

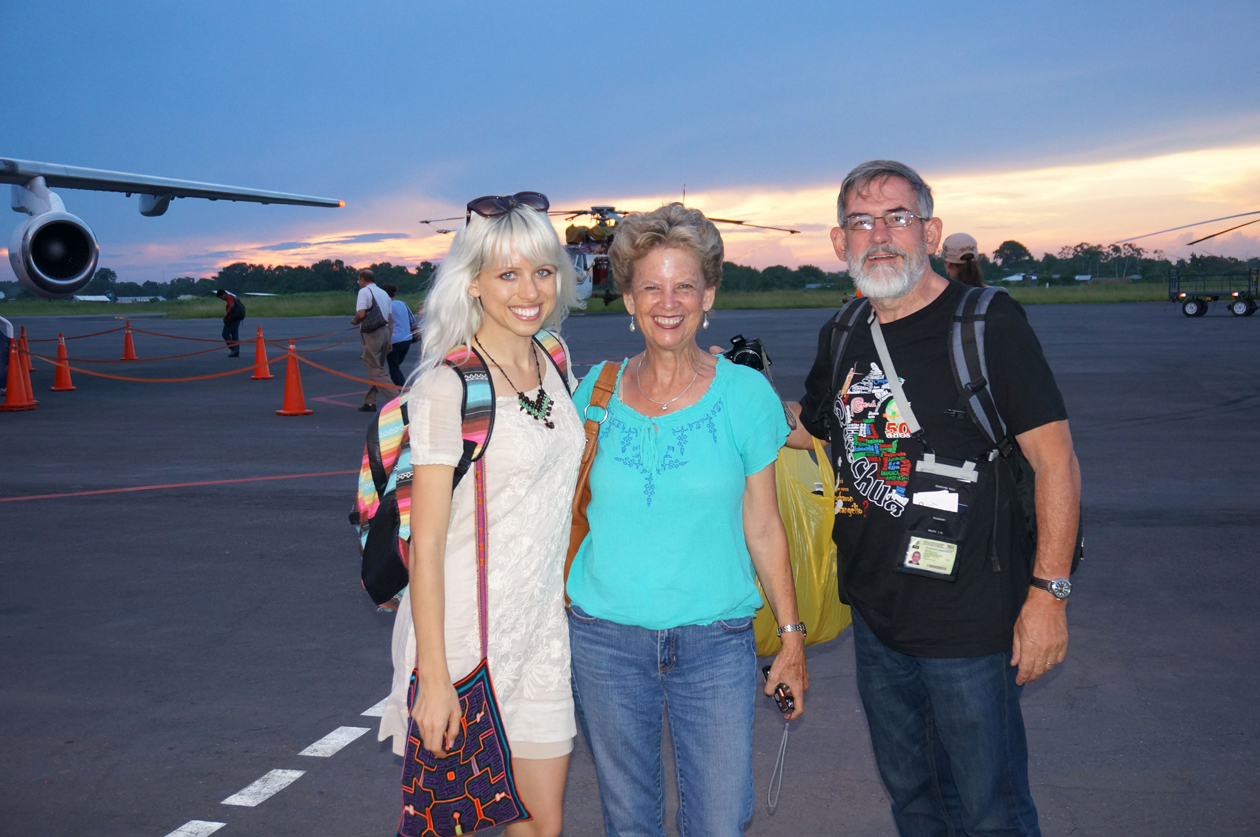
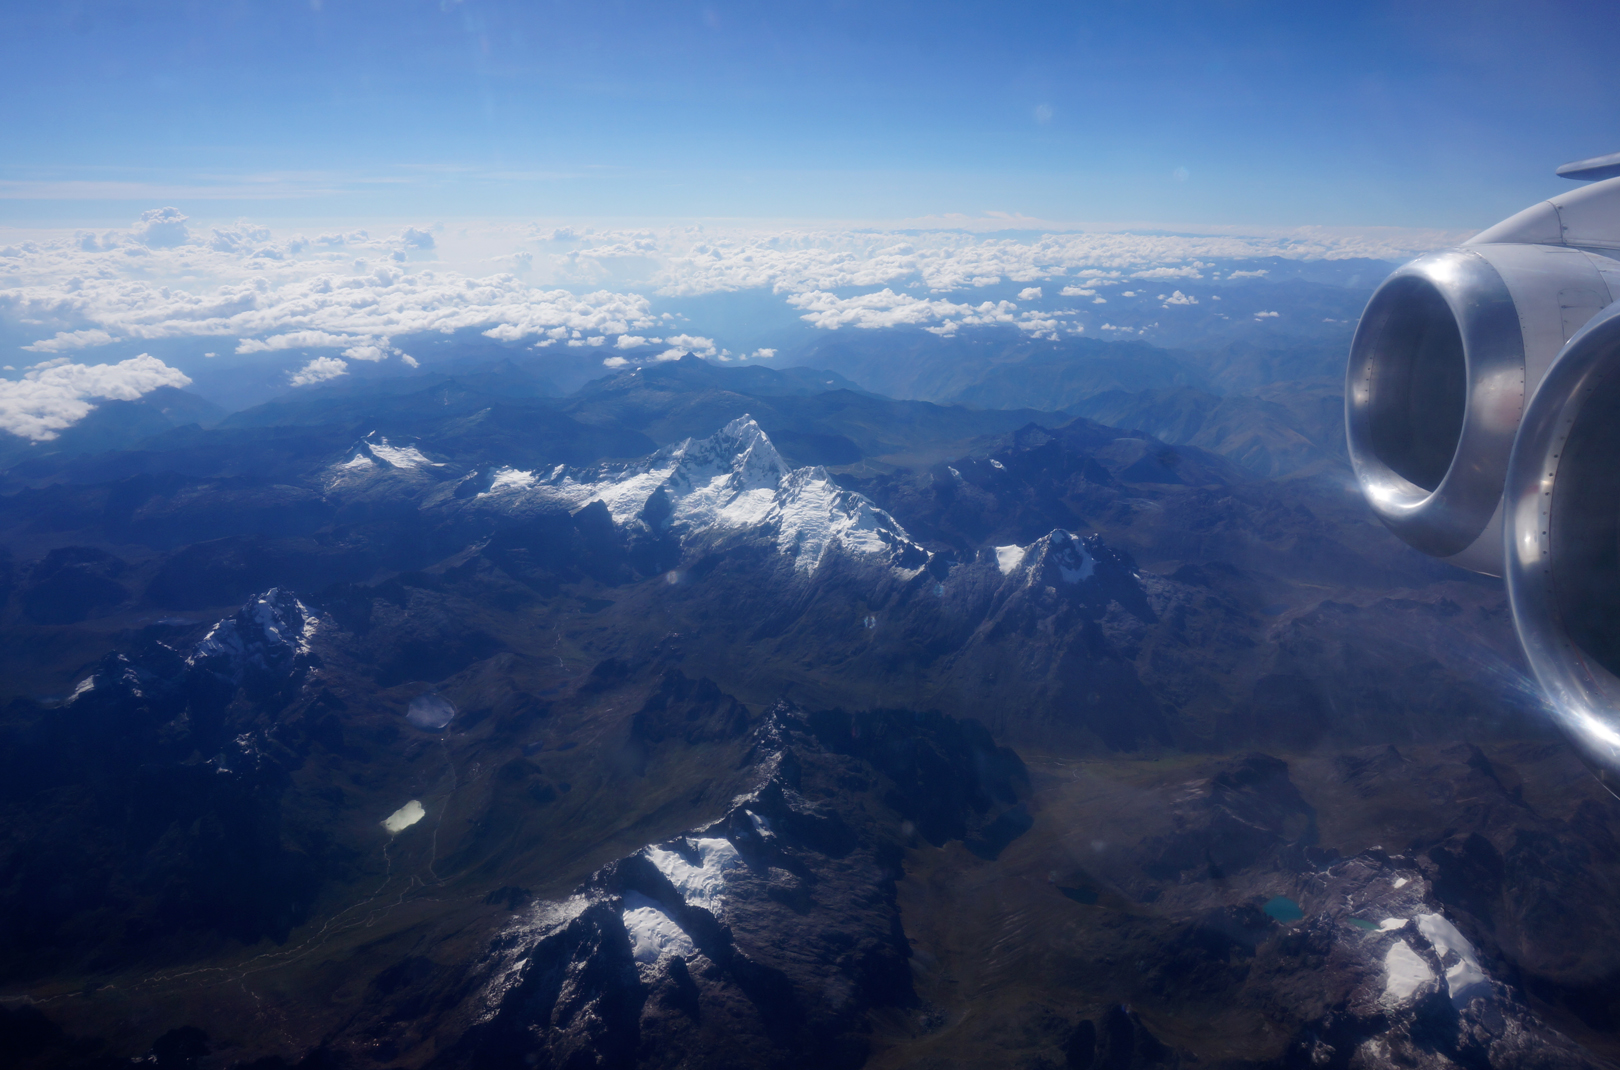
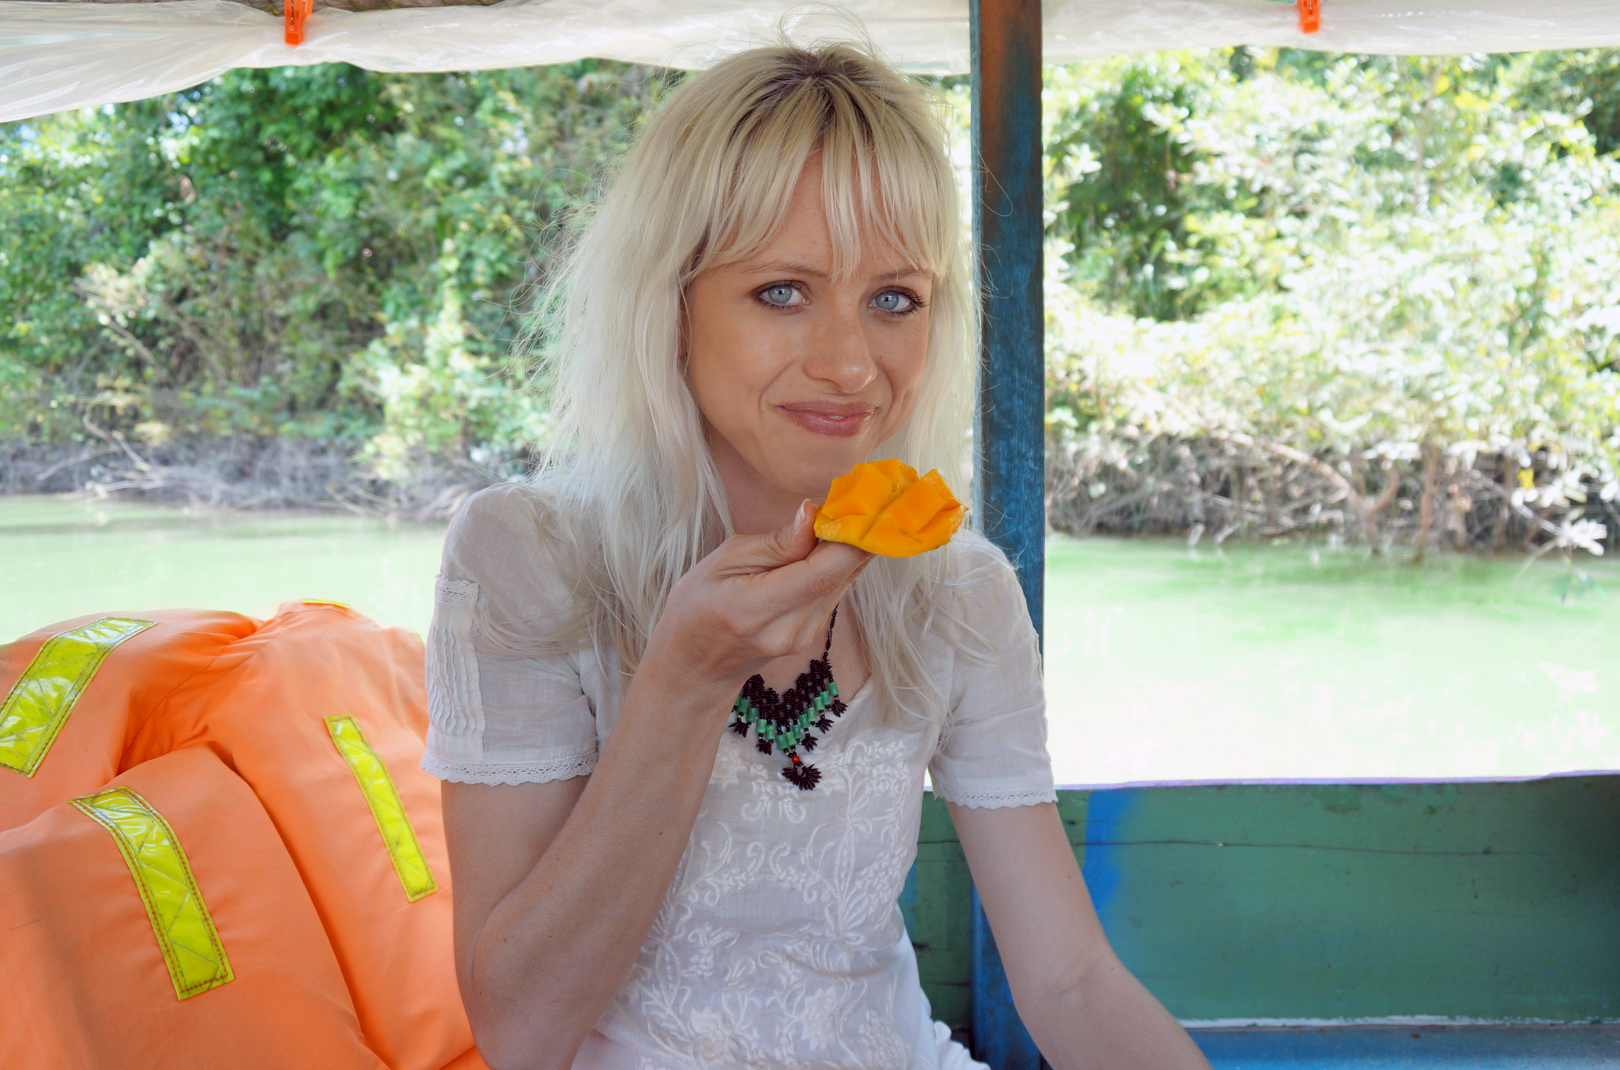
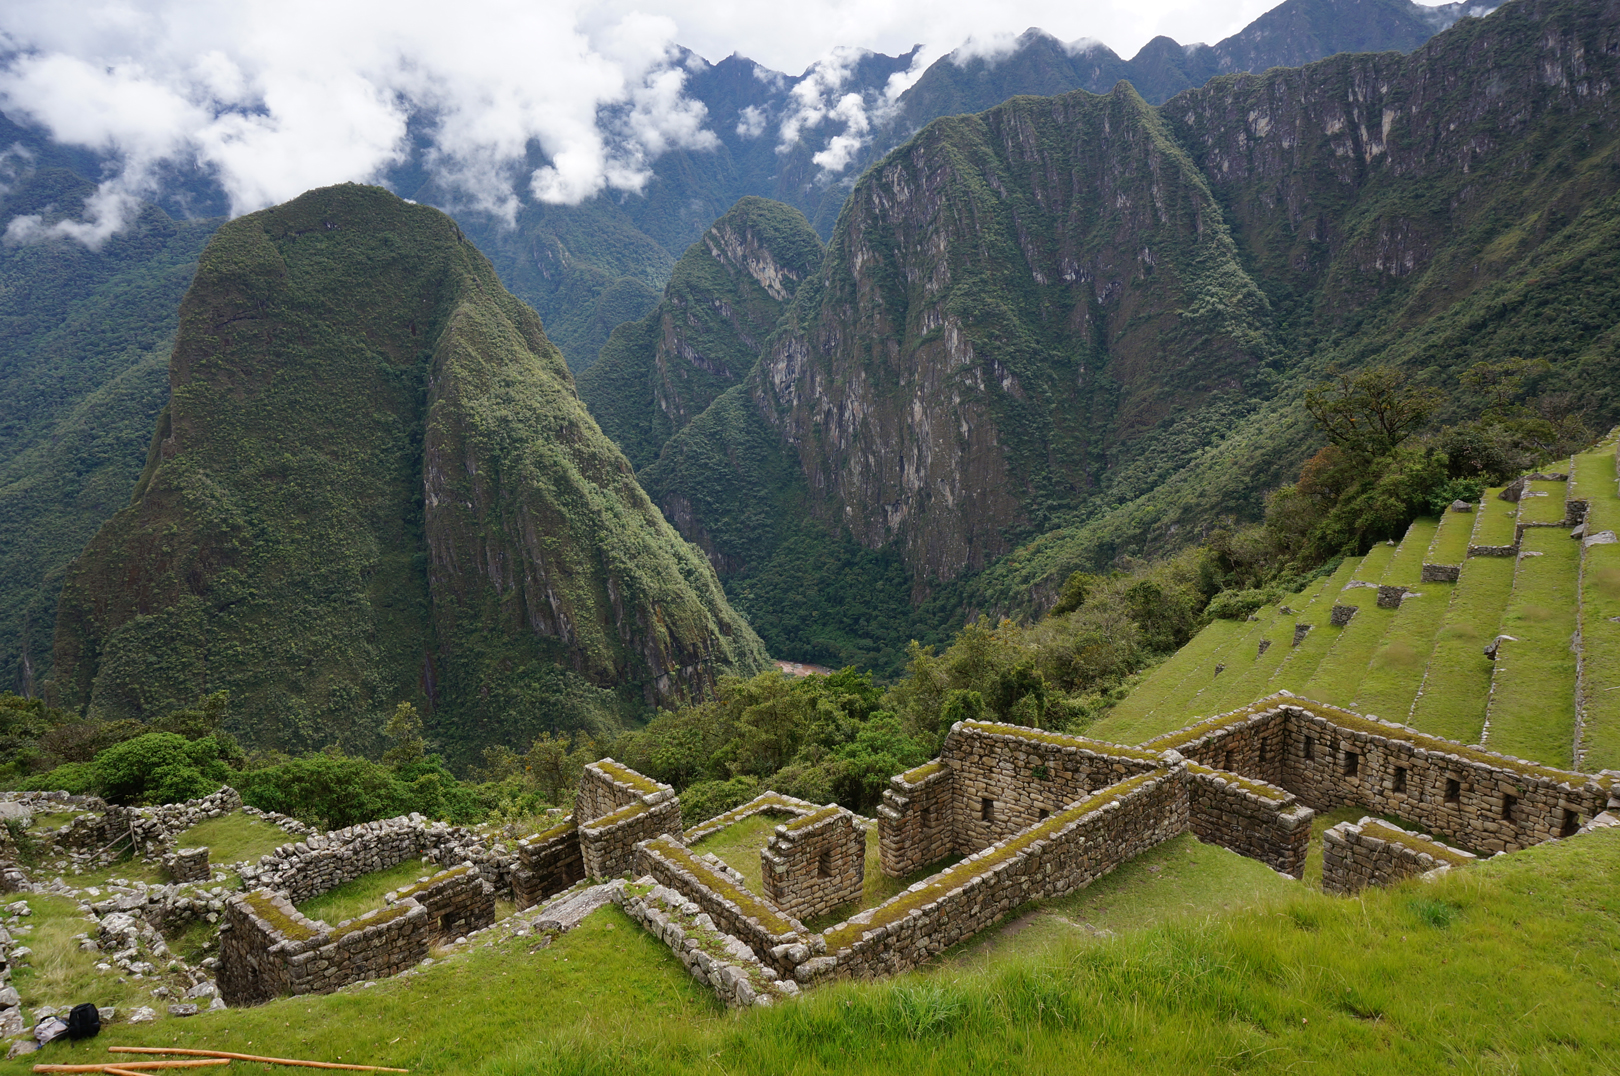
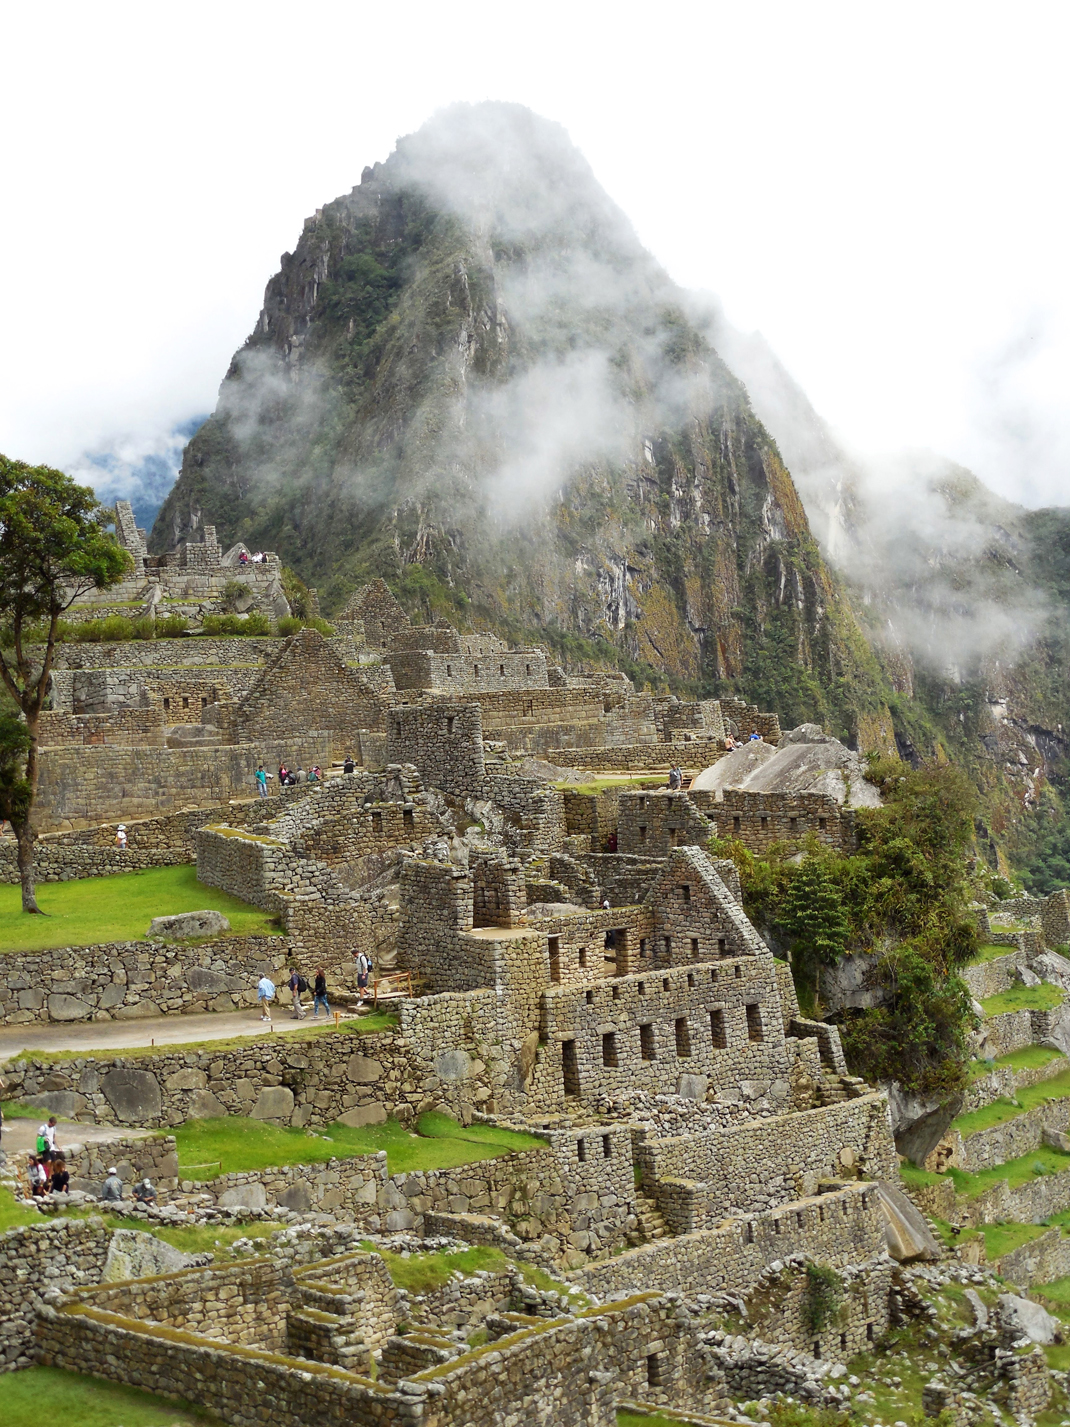
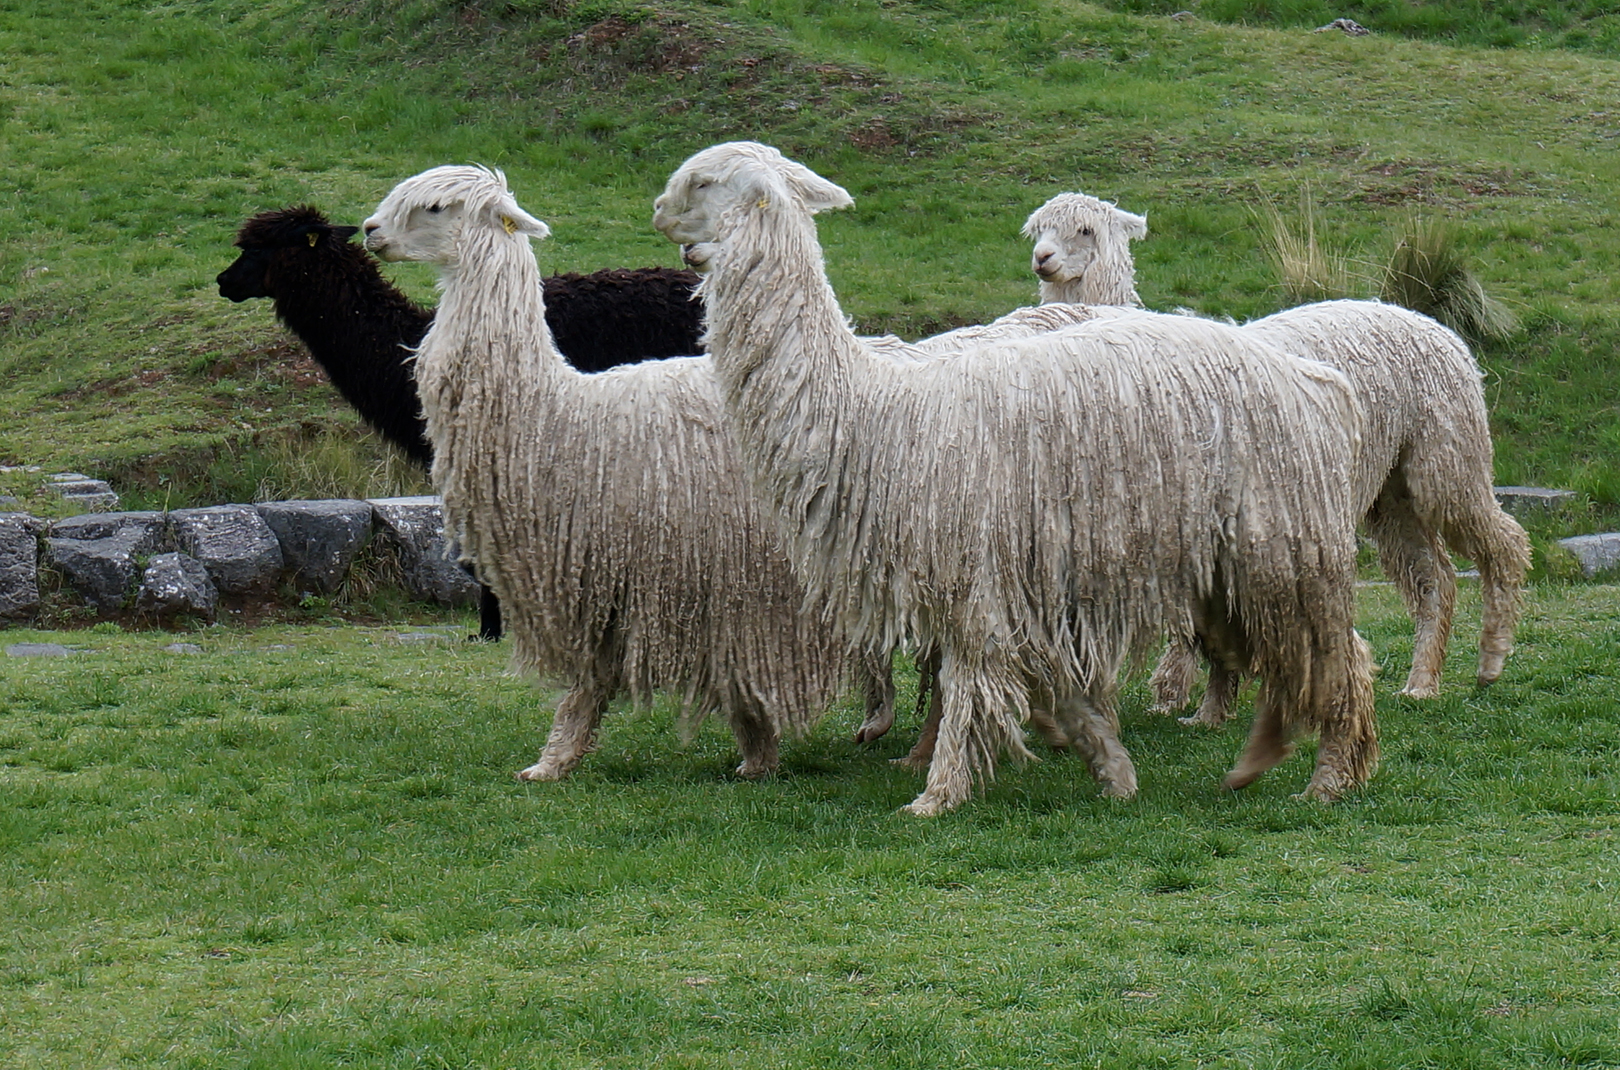
And that is exactly what I did when given the opportunity to crash my mom’s Peru reunion. (She met up with some of her old buddies from Yarinacocha, a small town along the Amazon river in Peru where she spent a large chunk of her childhood). I mean, WHEN will I ever get another opportunity to meander through the Machu Picchu ruins in the rain with mom and dad while learning all about what we think we have figured out about the Incas? (“...so the Incas took advantage of that” was our tour guide’s favorite phrase—he said it about EVERYTHING!) So I made like an Inca and took advantage of THAT.

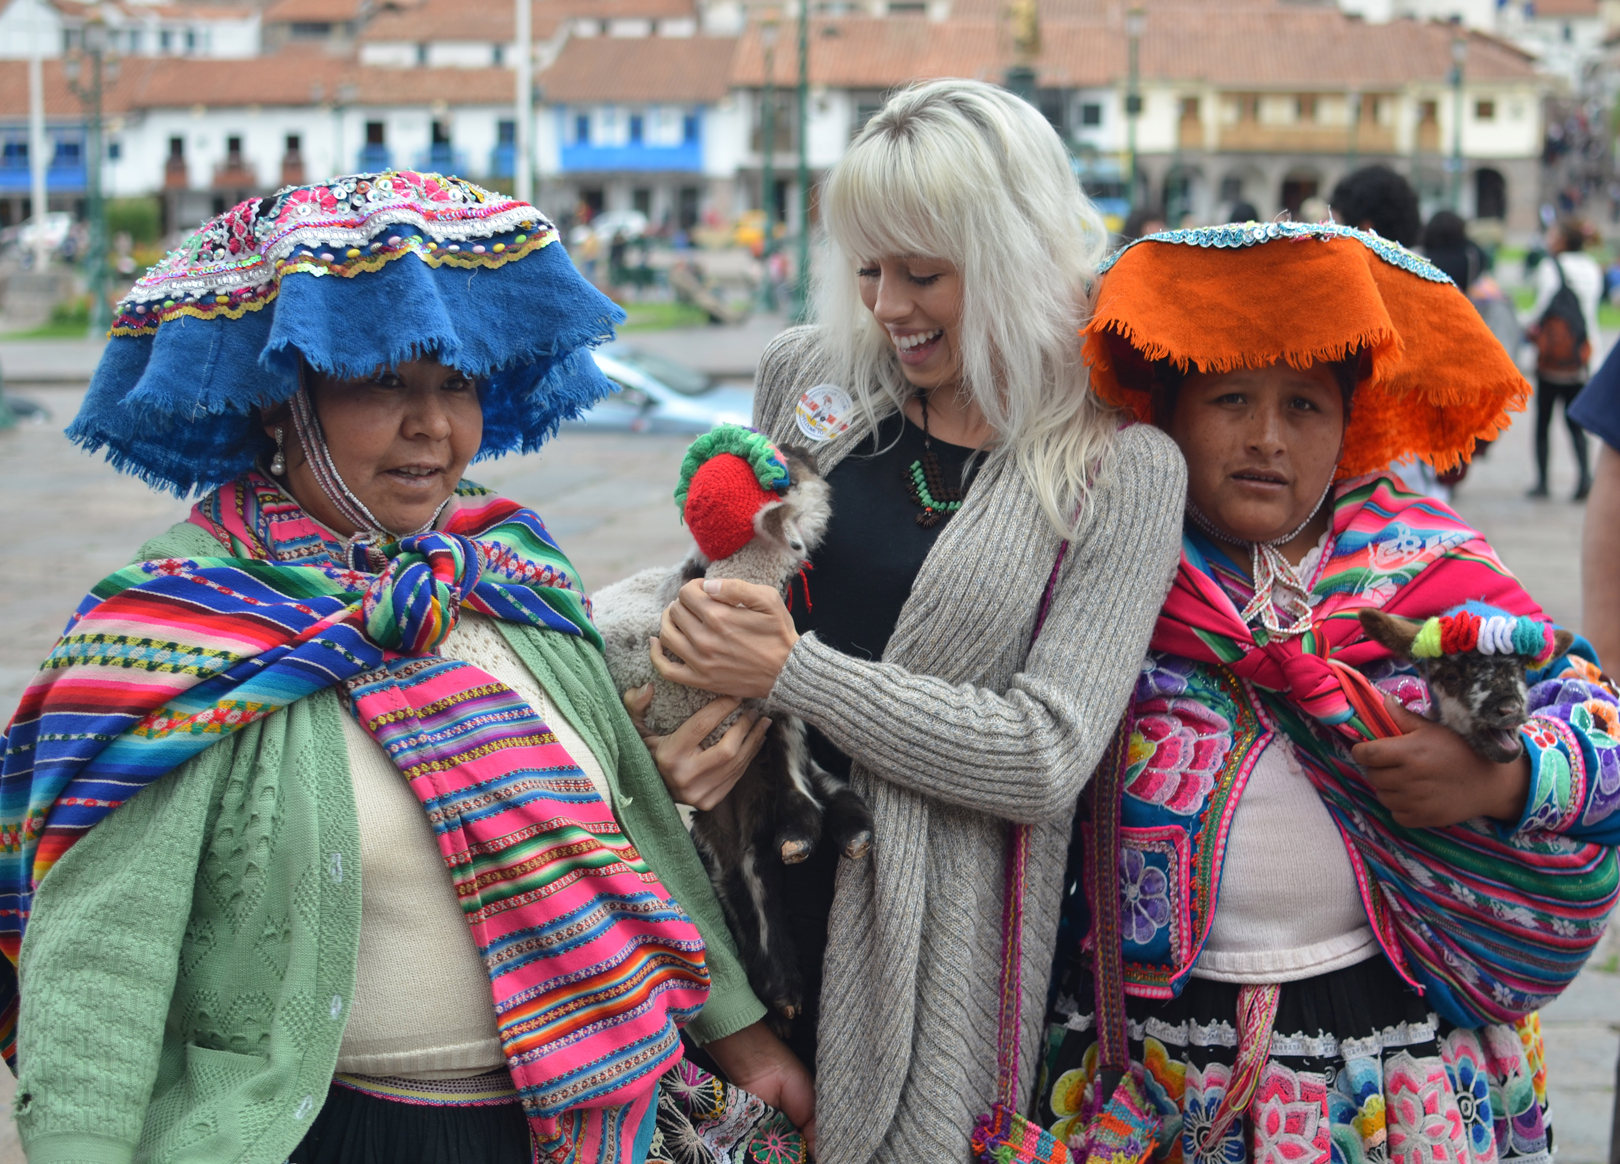
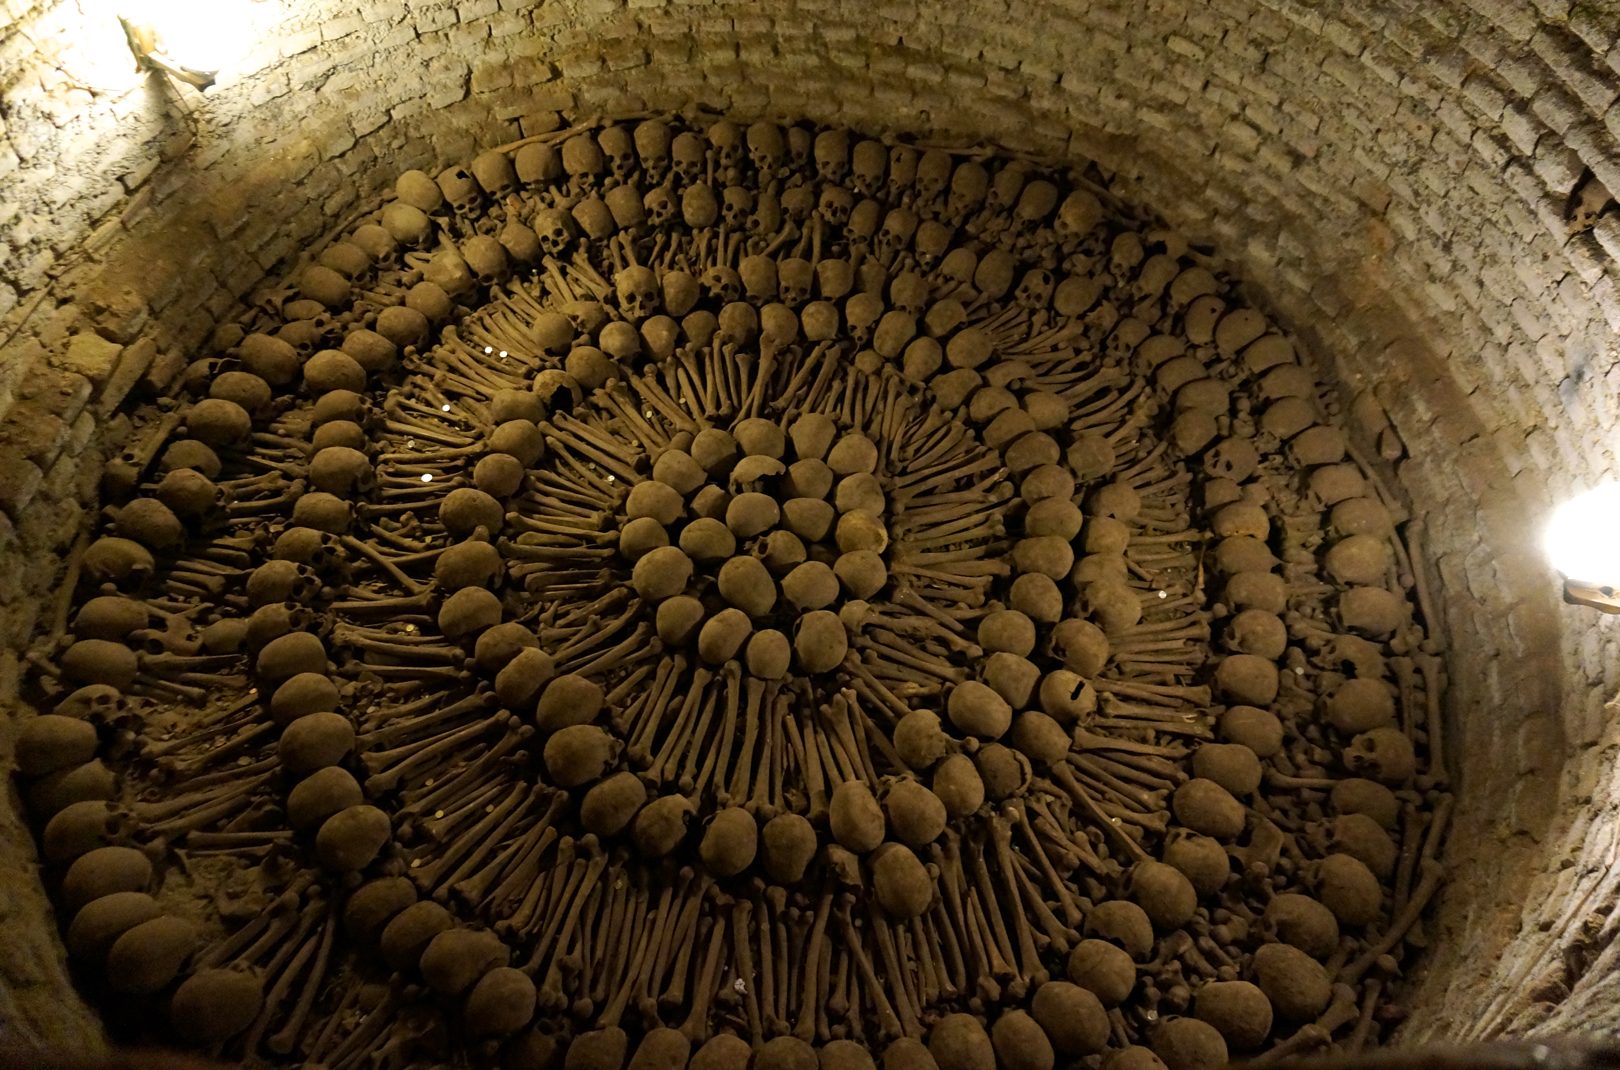
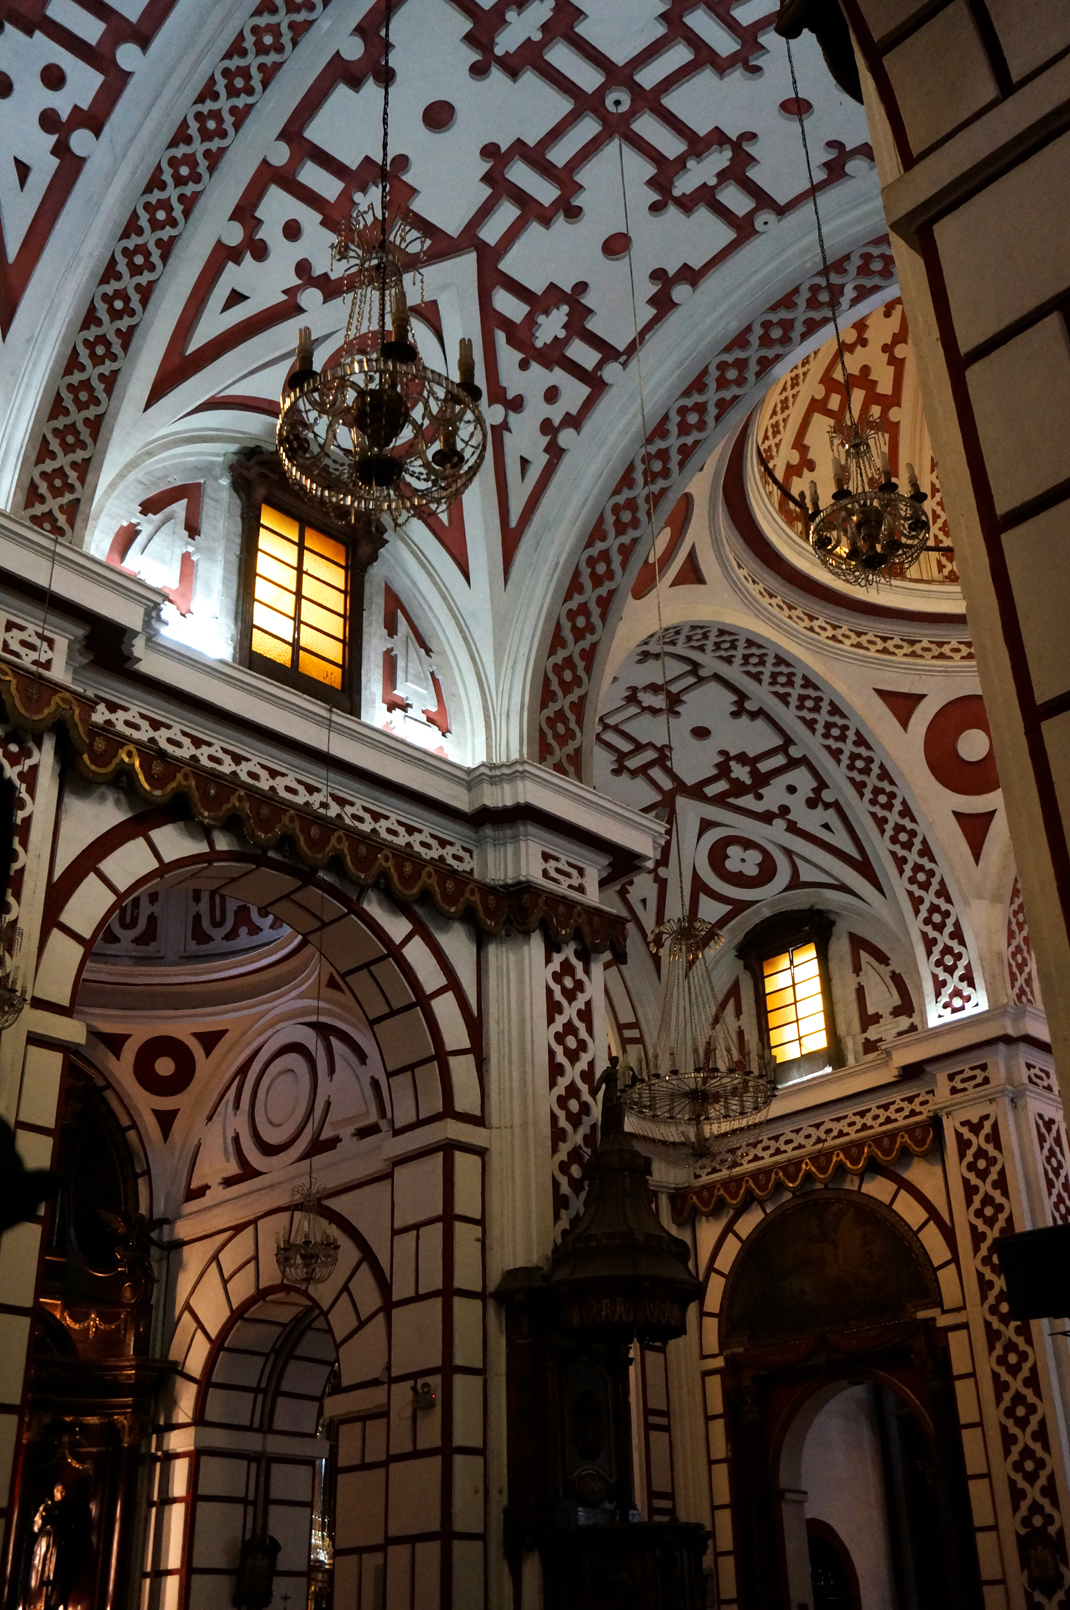
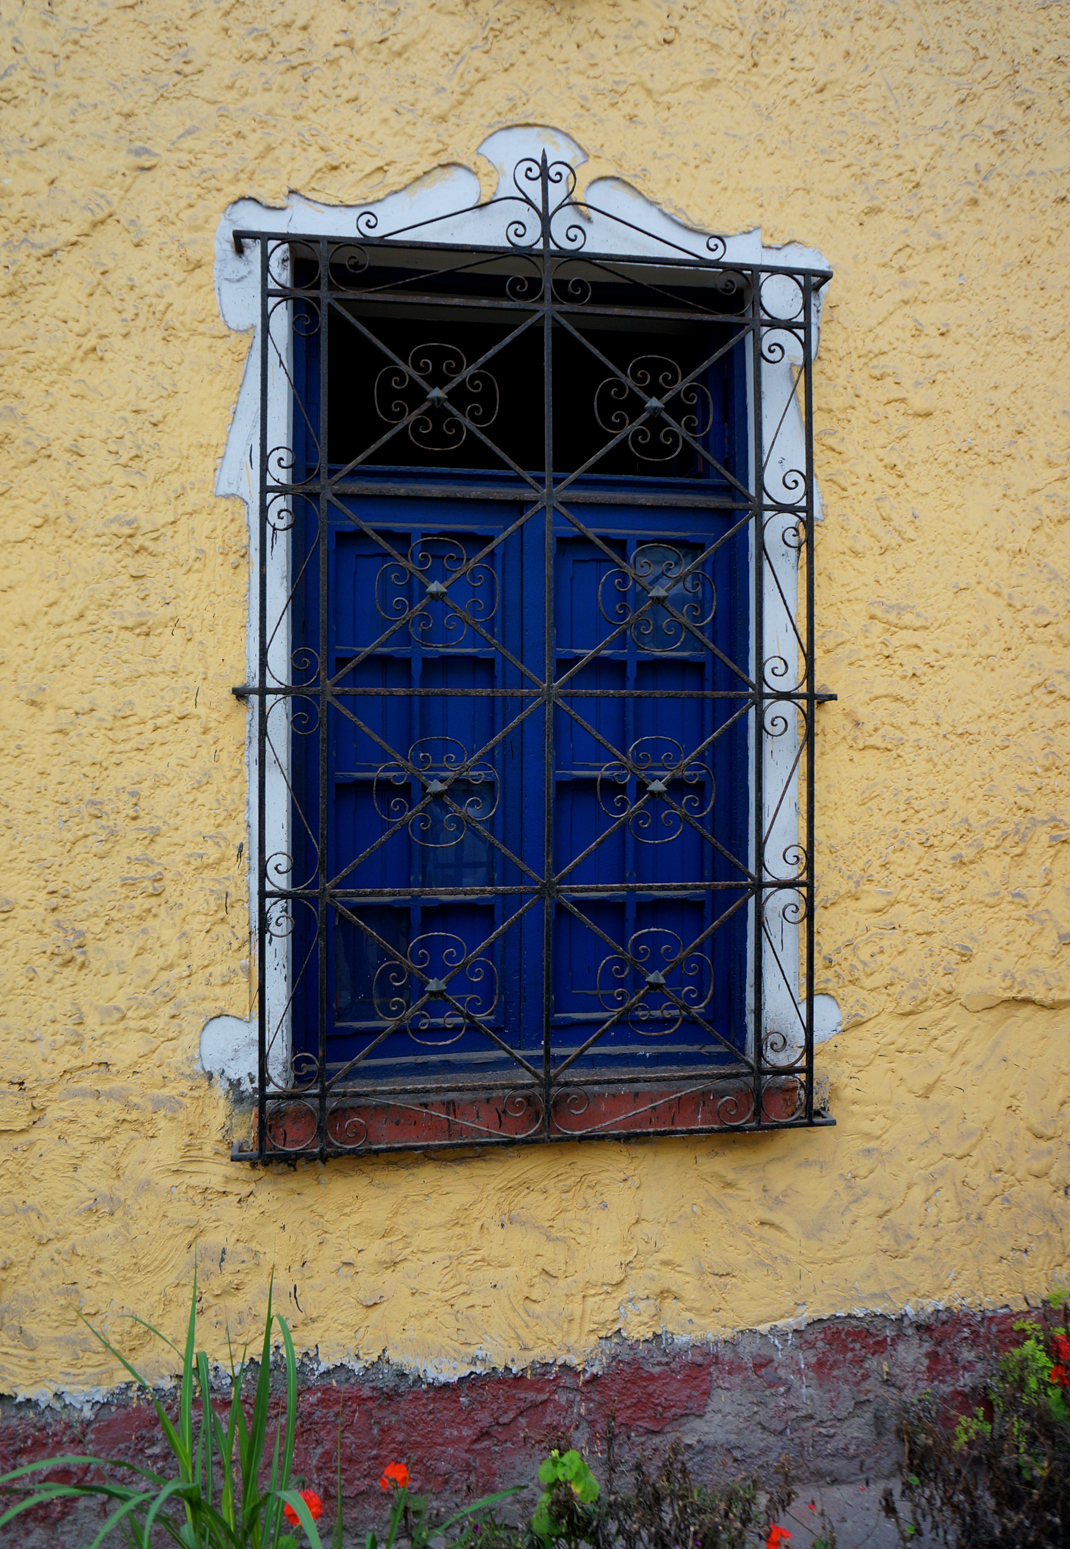
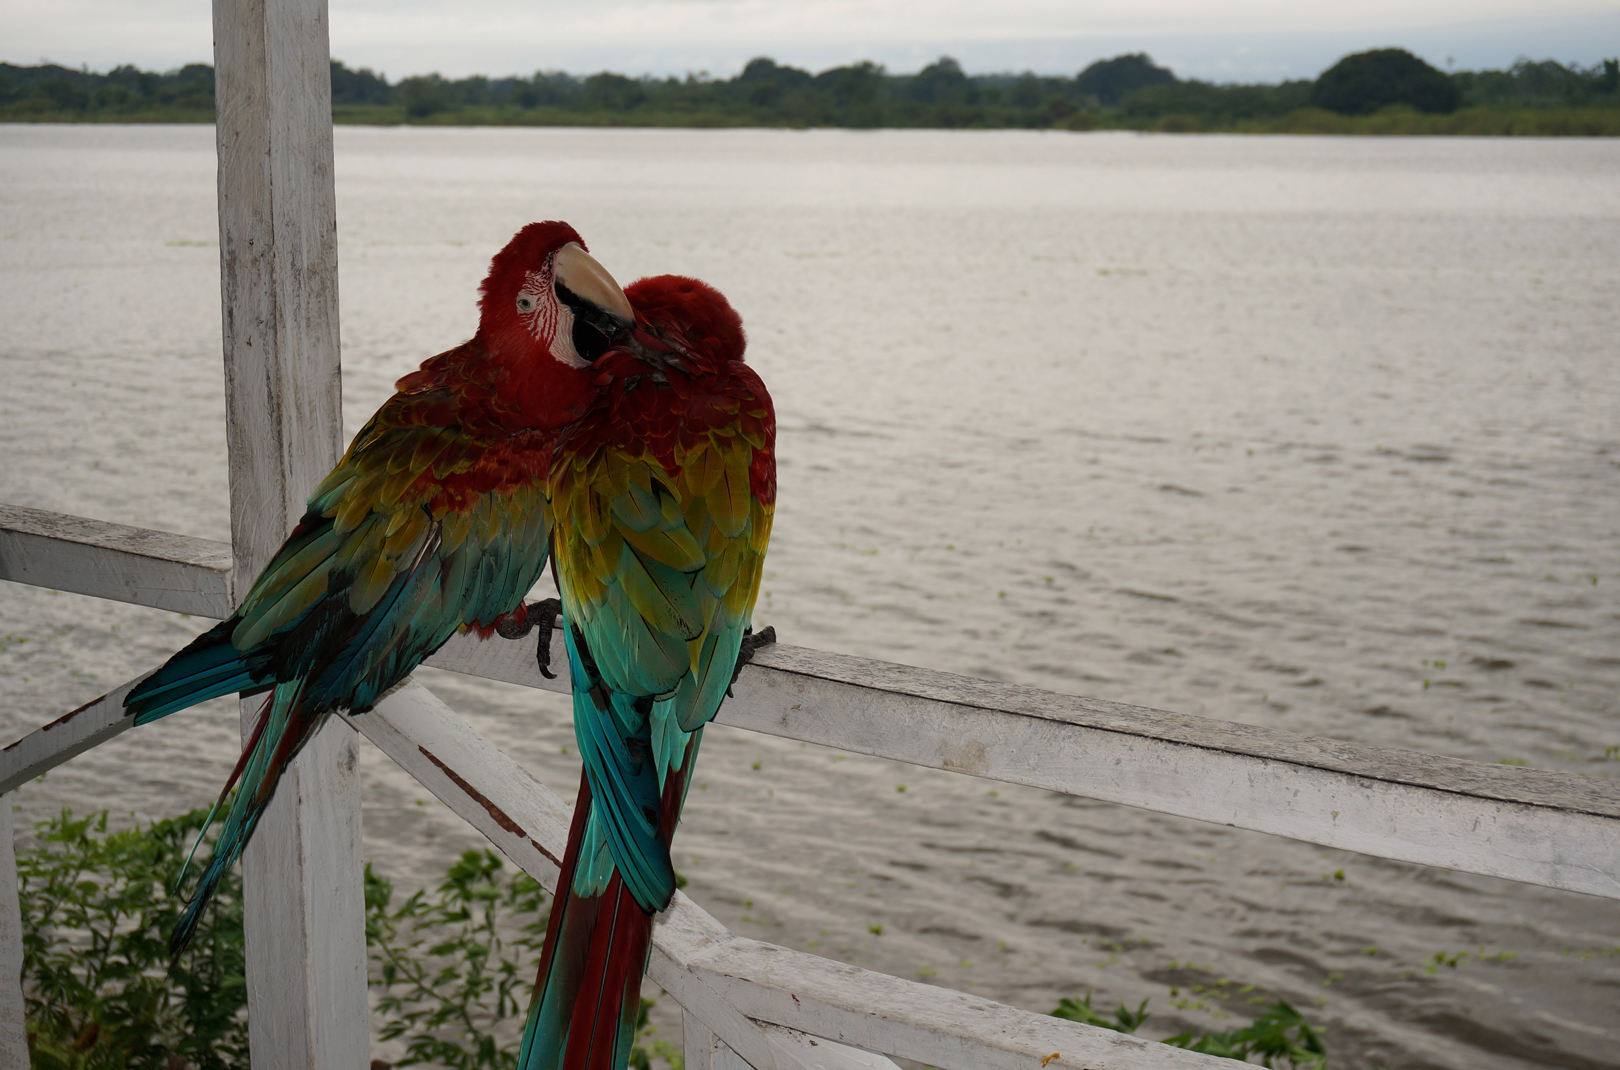
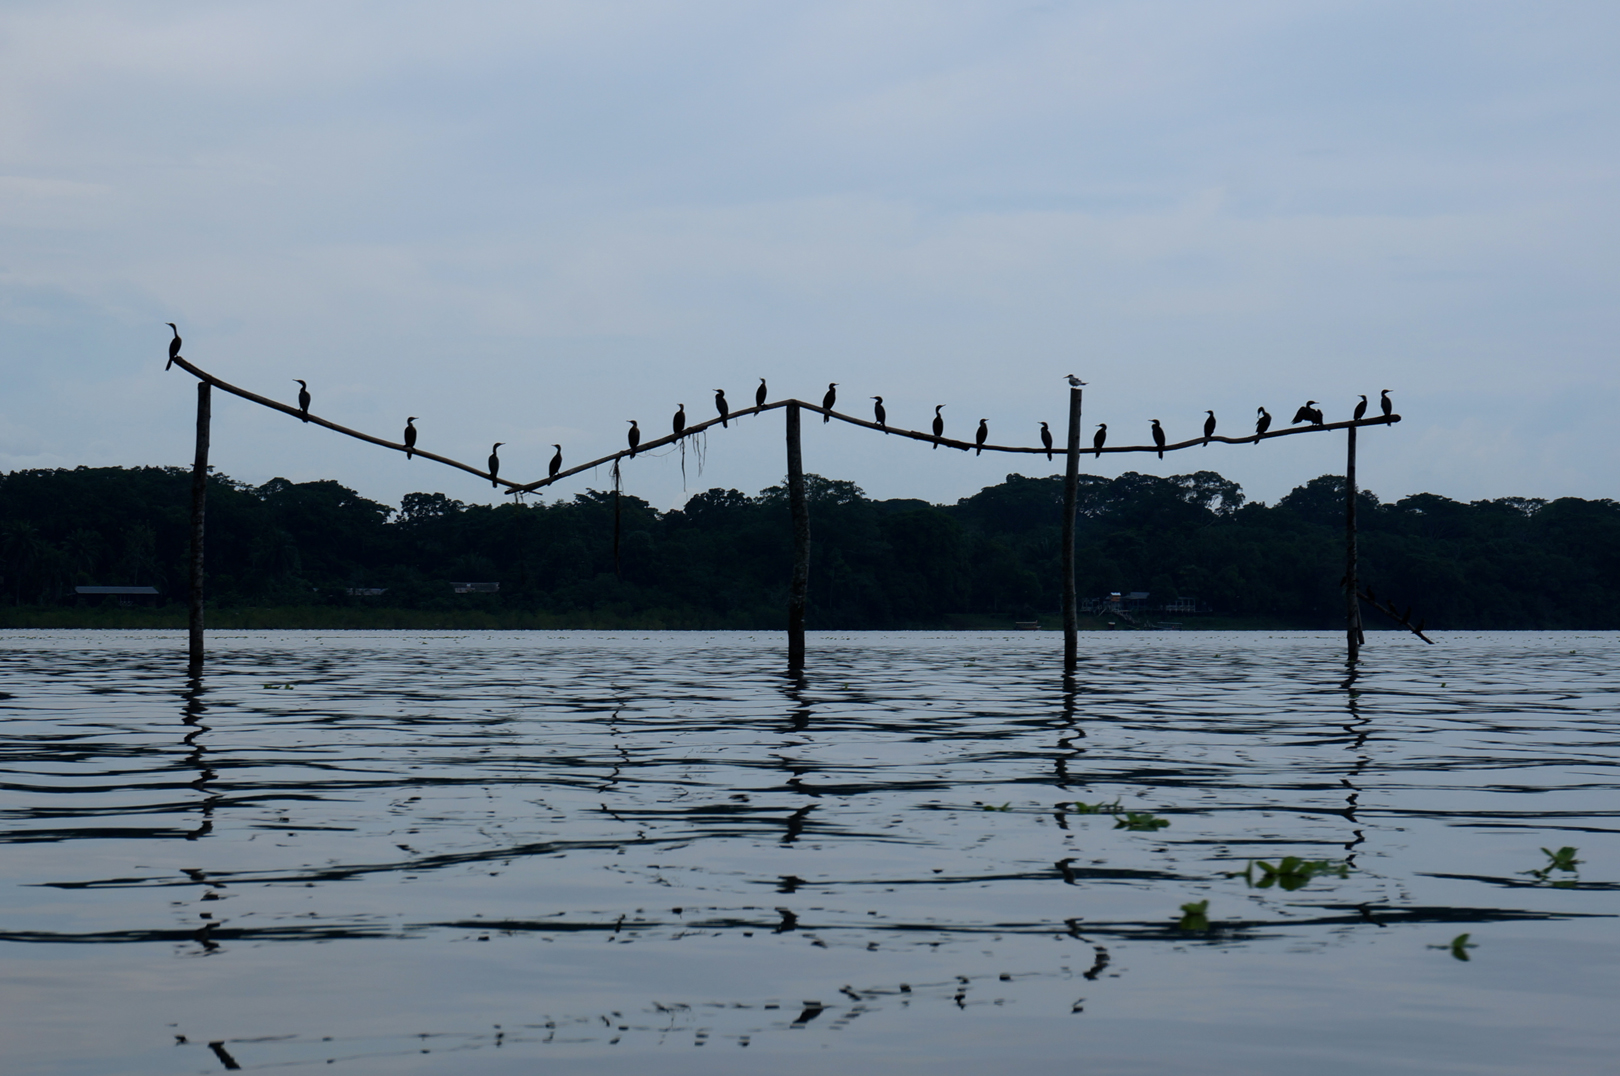
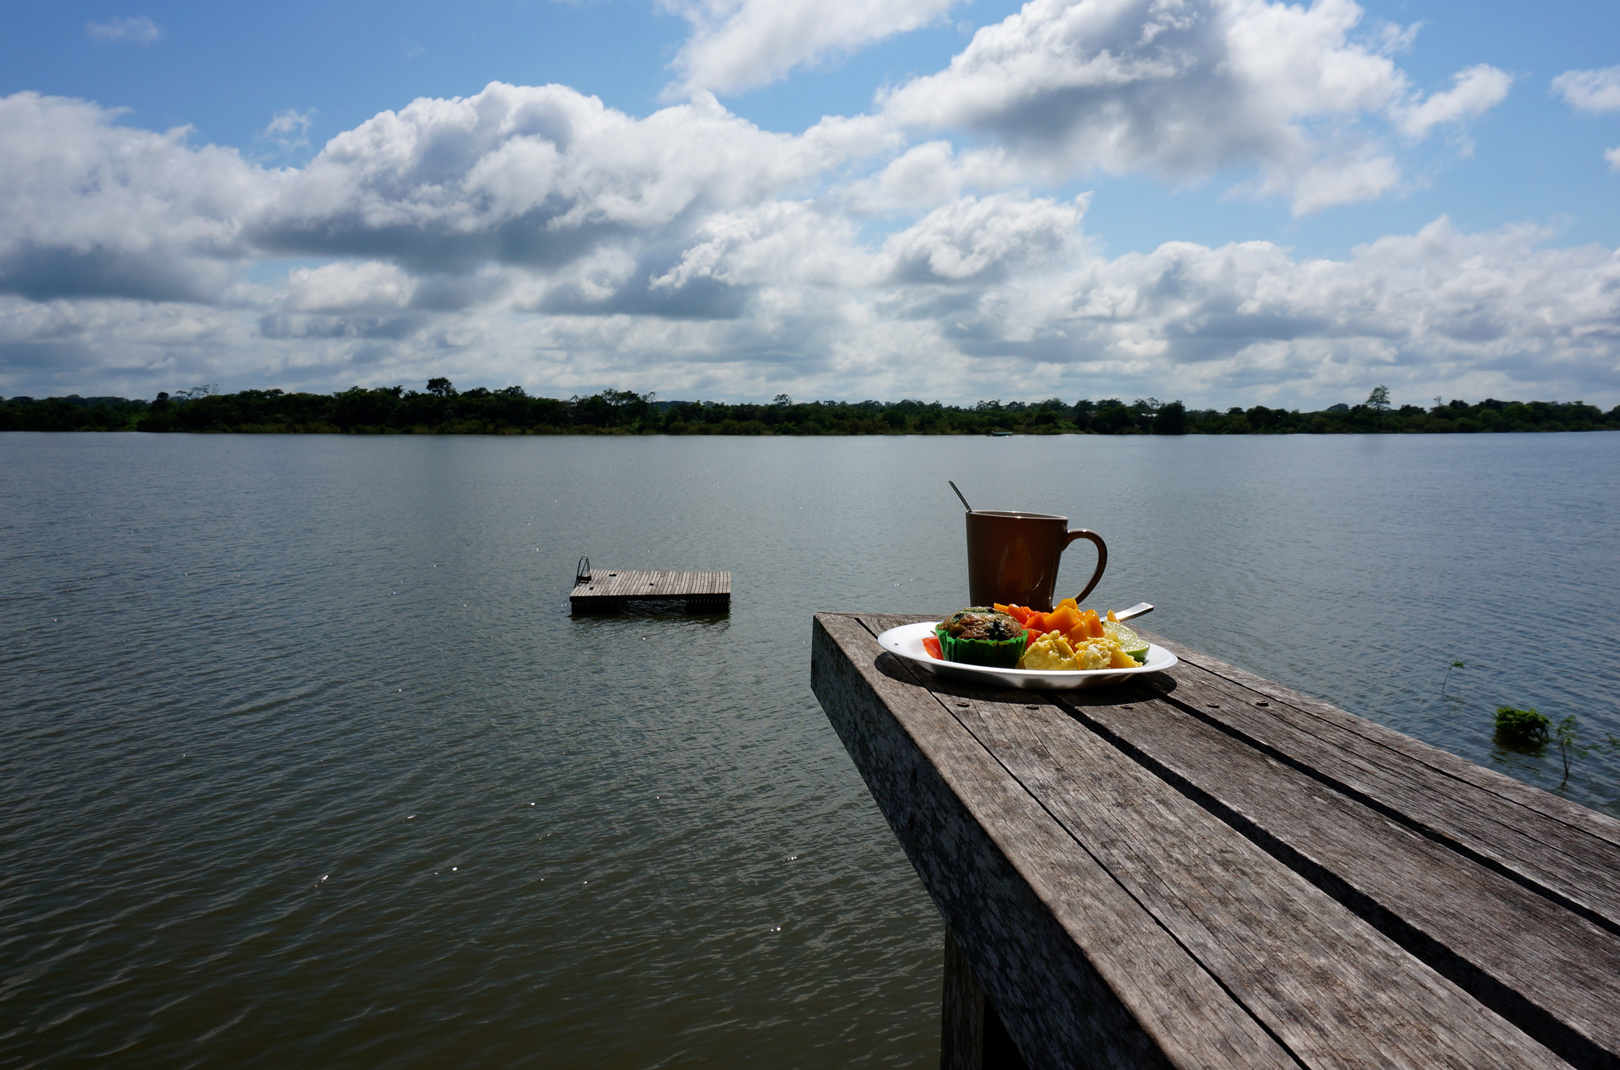
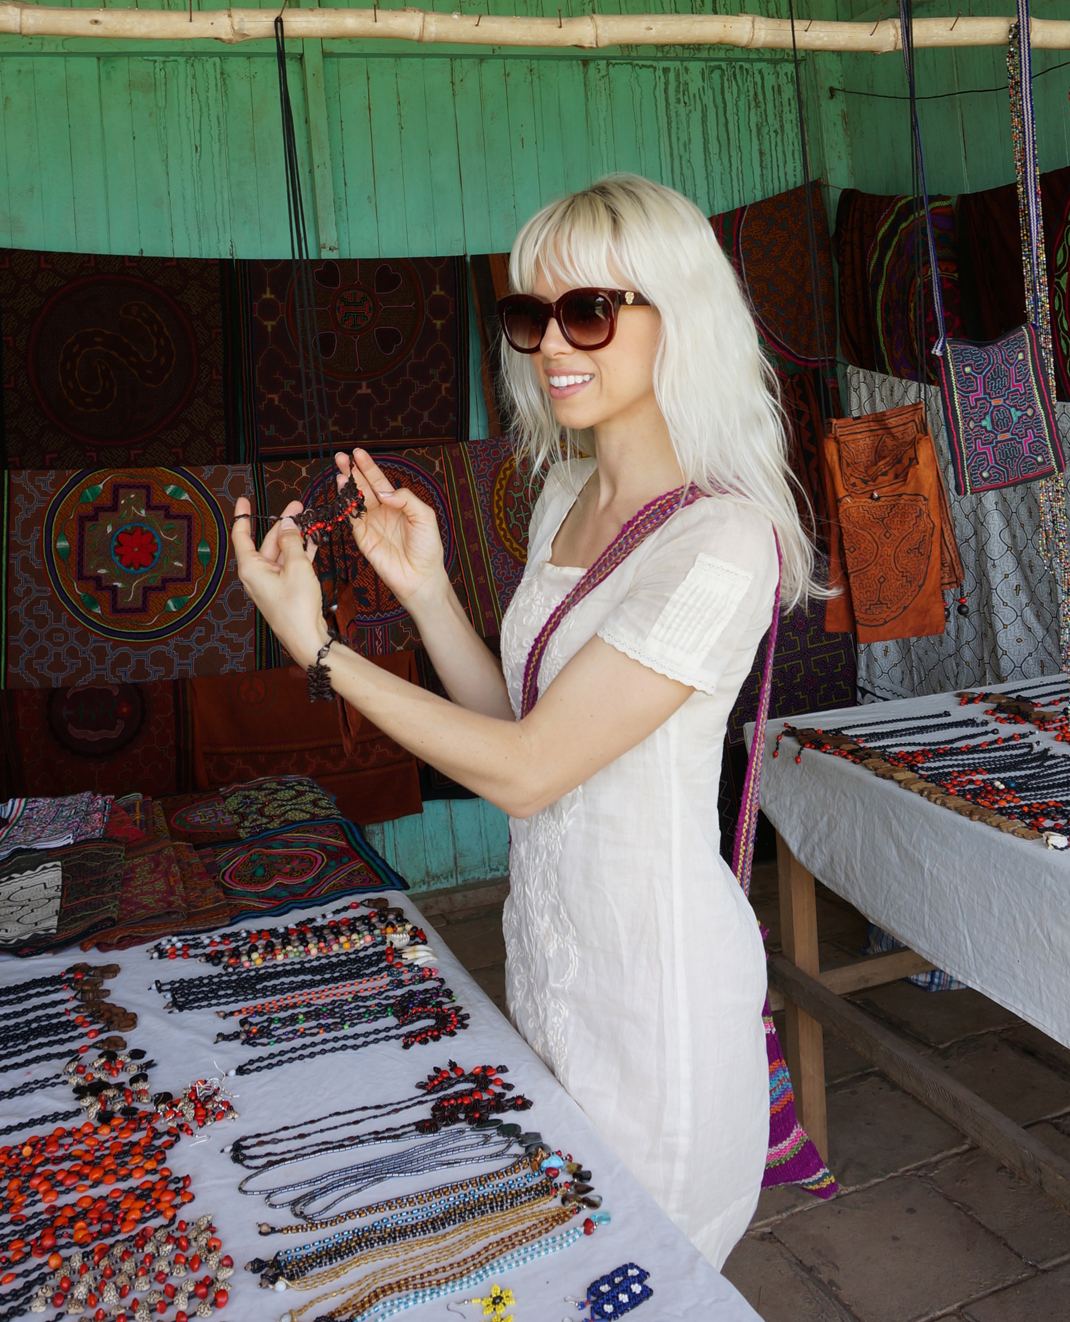
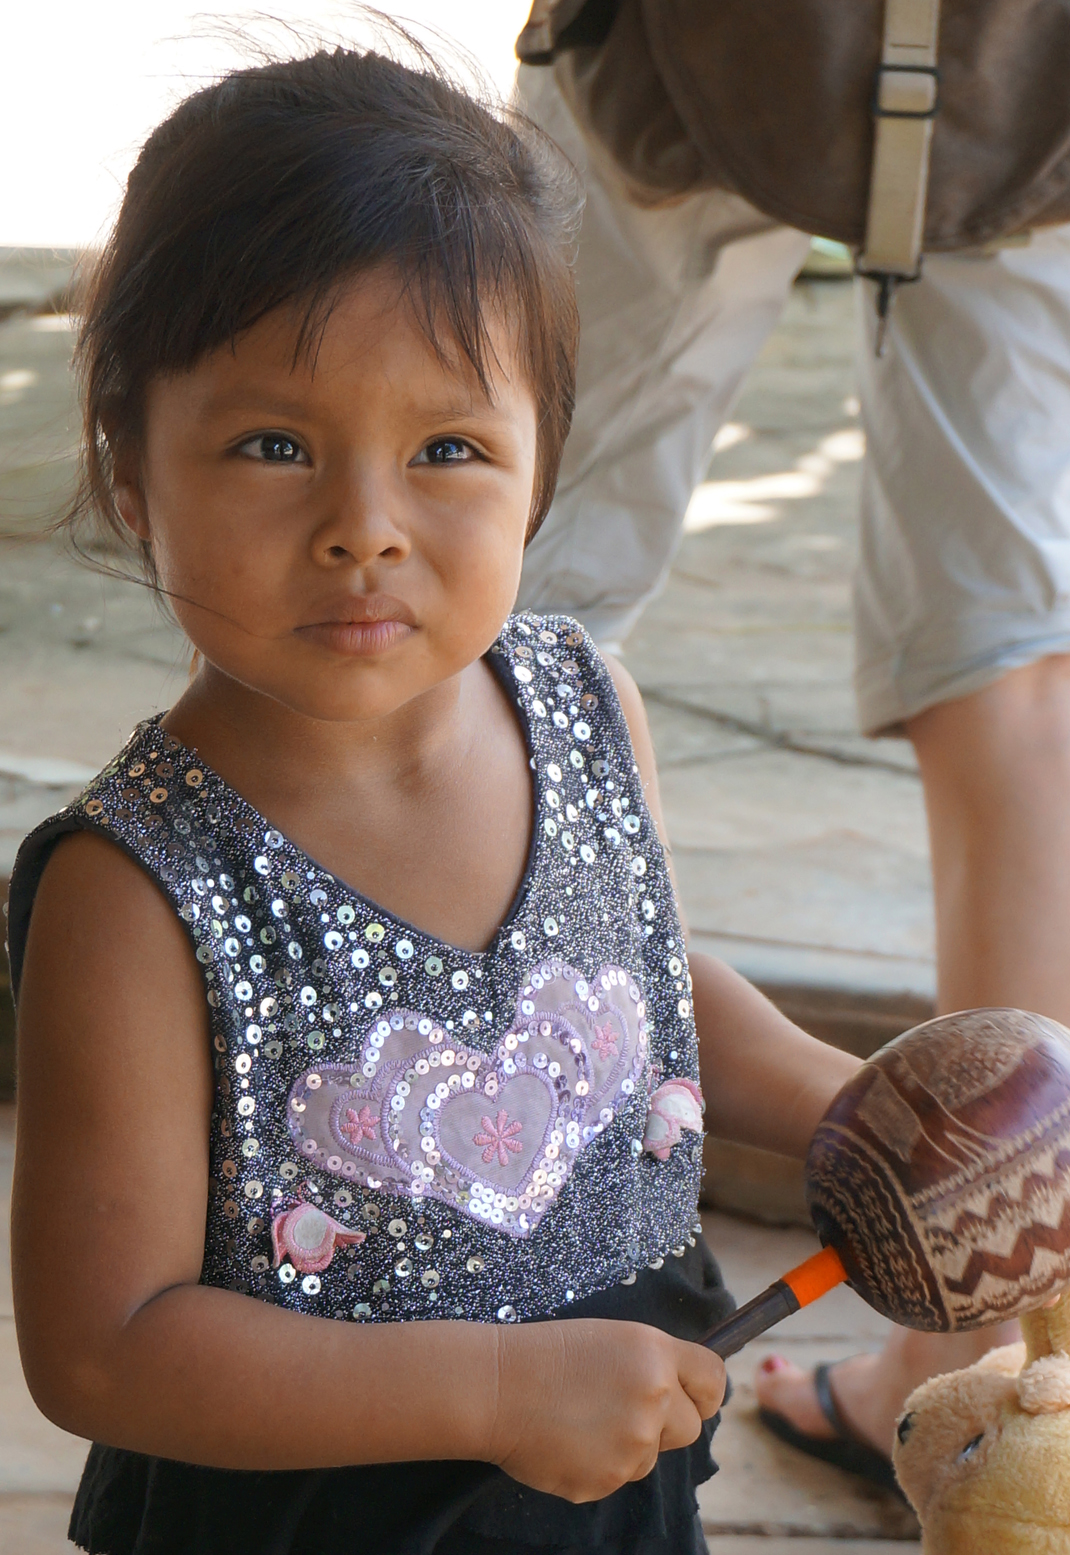
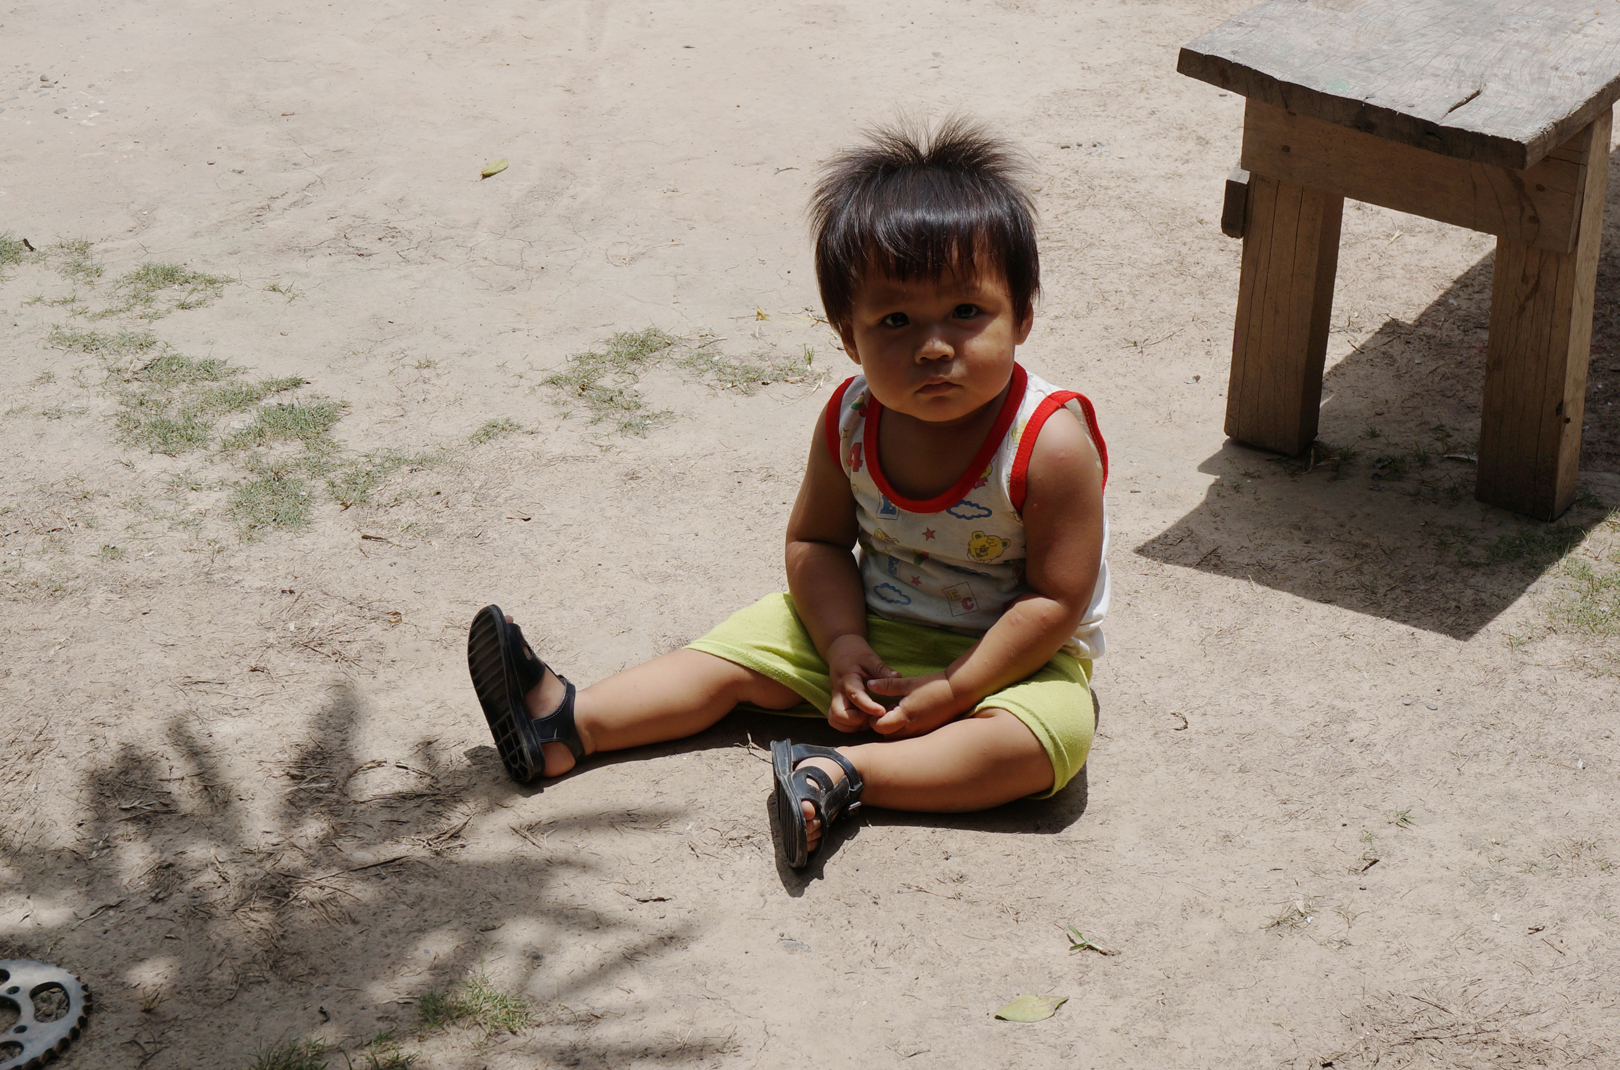
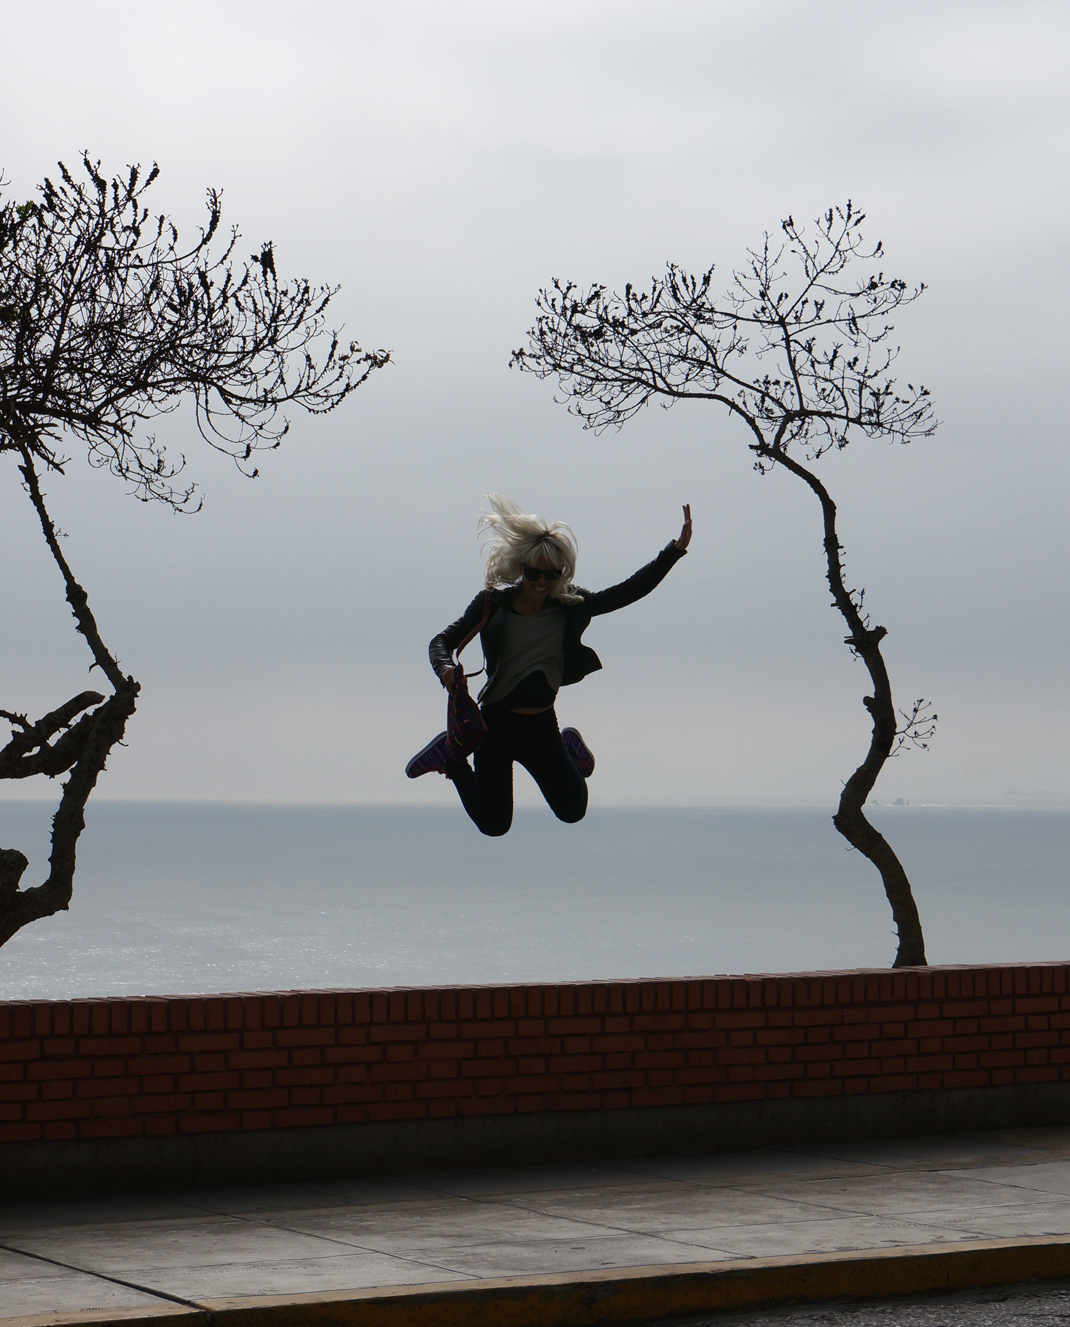
What a delightful, surprising, inspiring trip. I expected the unexpected, but the trip somehow still managed to seriously blow me away. I met some incredible people, heard some awe-inspiring stories, was humbled and fascinated and dumbfounded and intrigued and forever changed. (And this, my friends, is exactly what traveling is all about.) But anyway I’ll let my pictures do the rest of the talking :)

~~~~~~~~~~~~~~~~~~~~

Me parece curioso que la gente use la frase “el tiempo es dinero” como si la fórmula fuera tan simple. Estoy segura que es mucho mas complicado que eso.

Yo encuentro que cuando estoy haciendo dinero, casi no tengo tiempo, y cuando tengo tiempo, pues digamos que no me llueve el dinero.

Es verdad que si estás dispuesto a sacrificar tu tiempo, puedes obtener mas dinero. También es verdad (aunque no me gusta aceptarlo) que el dinero tiene mucho que ver con cómo disfrutas tu tiempo. Sin embargo, al final del día, el dinero puede entrar como un río y salir volando como un papalote—lo que realmente tiene valor en esta ecuación es el tiempo. Las oportunidades son un tesoro. Uno TIENE que aprovecharlas cada que se pueda.

Y eso es exactamente lo que hice cuando se me presentó la oportunidad de colarme a la reunión de Perú de mi mamá. (Se encontró con algunos de sus amigos de la infancia con los que creció en Yarinacocha, un pueblo al lado del río Amazonas)

O sea, cuántas veces en la vida voy a tener la oportunidad de andar por las ruinas de Machu Picchu en la lluvia con mis papás mientras aprendemos acerca de los Incas? (“... asi que los Incas se aprovecharon de eso” fue la frase favorita de nuestro guía—lo dijo como 37 veces!) Asi que le hice como Inca, y ¡ME APROVECHÉ de ESO!

¡Qué viaje tan agradable, sorprendente, e inspirador! A pesar de que había decidido esperar lo inesperado, el viaje de alguna manera logró dejarme totalmente asombrada. Conocí personas increíbles, escuché historias impresionantes, quedé fascinada, intrigada y por siempre cambiada. (Y esto, mis amigos, es exactamente de lo que se trata el acto de viajar.) En fin, voy a dejar que las fotos cuenten el resto de la historia :)

DSC01098 ImageImageImageImageImageImageImageImageImageImageImageImageImageImageImageImageImageImageImageImageImageImageImageImageImageImageImageImageImageImageImageImageImageImageImageImageImageImageImageImageImageImageImage

In activities, adventure, fun, lifestyle, photography, photos, travel Tags amazon, amazonas, andes, bilingual, cusco, cuzco, español, lima, machu picchu, montañas, mountains, nómada, peru, platinum, río, river, shipibo, spanish, viaje
7 Comments
Image
Image

Make your own Magnetic Chalkboard Wall

November 4, 2013

The chalkboard wall.

Let’s be honest, at some point in your life you have considered having one in your house. You’ve fantasized about leaving your loved ones adorable little notes, jotting down memos in perfect typography, and leaving grocery lists that add a functional yet funky element to your decor.

Well, I too had been searching for just the right wall to transform and found it when we moved in to our new place here in Houston.

So, after 3 jaunts to the Home Depot (I can’t ever seem to get everything on the first try), 4 days of fumes, and hours of obsessing over the amazingly inspiring images of chalkboard art all over the internet, we finally have a finished product.

We are going to be writing, painting, tracing, and erasing for a looooong time!

Check out the video tutorial in English here :)


materials:

Magnetic Primer https://amzn.to/2IRlqPb
Painter's Tape https://amzn.to/2L51bdg
Tintable Chalkboard Paint (Take it to Home Depot for tinting) https://amzn.to/2ITWgiK
Or Black Chalkboard Paint (not shown in this video) https://amzn.to/2IVRDVt
Detail brush https://amzn.to/2L1fpvQ
Extendable Paint Roller Frame https://amzn.to/2GZjC0z (buy foam separately)
Foam for Paint Roller
Small Paint Roller
Plastic disposable trays for paint
Screw driver
Measuring tape

The steps:

This Project requires a minimum of 4 days, because of the long waiting periods between layers of paint. 

1.       Gather the materials. 
If you use the tintable Rust-Oleum paint that I used, you’ll need to stop by a hardware store like Home Depot to add the color of your choice.

2.       Prepare the space
Tape off the borders of your project, making sure to use enough pressure to keep paint from seeping under it.  The can of paint that I used said that it covered a 16ft2 area, but it ended up covering way more than that in my project.
Remove outlet plates.

3.       It’s a good idea to cover your hair and body as much as possible with clothes you don’t mind getting paint on.  You can use gloves to protect your hands and arms, or, you could just use bags like I did in the video. A hat or bandana is a good choice to keep flecks of paint from landing in your hair.

4.        Optional: Paint two layers of magnetic paint, waiting 30 minutes between layers, and wait a full 4 hours before starting your first layer of chalkboard paint.

Use even, steady strokes to make sure that it goes on evenly.  Using a smaller roller will help ensure a more even spread of paint, though it will take longer. Use the finishing brush to get the paint all the way to the edges.

5.       Paint two layers of chalkboard paint, waiting 4 hours between layers.

6.       Wait THREE DAYS before the next step.

7.       To condition your chalkboard, rub a piece of chalk on its side all over the entire chalkboard, and then erase it before using it.

8.       Write, draw, add magnets, now’s the time to make it look just the way you want it!

Here are a two examples of how I used my magnetic chalkboard:
An inspiring design  

Using Magnets on my magnetic chalkboard

~~~~~~~~~~~~~~~~~~~

La pared convertida en pizarrón.

Seamos sinceros: en algún momento de tu vida has considerado tener una pared/pizarrón en tu casa. Has fantaseado con la idea de dejarle notitas cursis a tu amor, de escribir memos en tipografía perfecta, y dejar listas para el super que le dan ese toque funcional y moderno a el look de la casa.

Pues, yo también había estado buscando la pared ideal para poder someterla a esta transformación y al fin la encontré en nuestra nueva casa aquí en Houston.

Asi que, después de 3 idas al Home Depot (siempre se me olvida algo), 4 días de oler a pintura, y horas de inspirarme con fotos de “chalkboard art” en el internet, por fin tenemos un producto final.

Vamos a estar pintando dibujando trazando y borrando por muuuucho tiempo!

Checa el tutorial en español  aquí :)


Materiales: 

Pintura Magnética https://amzn.to/2IRlqPb
Cinta Adhesiva https://amzn.to/2L51bdg
Pintura teñible para pizarrón (Se puede teñir en Home Depot) https://amzn.to/2ITWgiK
O pintura negra para pizarrón (no fue usado en este video) https://amzn.to/2IVRDVt
Brocha https://amzn.to/2L1fpvQ
Rodillo extendible https://amzn.to/2GZjC0z (buy foam separately)
Foam for Paint Roller
rodillo pequeño
Dos contenedores de plástico
destornillador
cinta métrica
 

Los pasos

Este Proyecto require un mínimo de 4 días, por las muchas pausas entre las capas de pintura.

1.       Junta los materiales.

Si usas pintura teñible de Rust-Oleum, tendrás que llevarlo a una tienda como Home Depot, para teñirla.

2.       Prepara el espacio. 
Pon la cinta a los límites, usando bueno presión, para que la pintura no se meta por abajo.  Toma en cuenta el área que puede cubrir la pintura.  La lata de pintura magnética que usé decía que cubría 16pies2, pero en verdad, pudo cubrir mucho más.
Quita los enchufes

3.       Es recomendable cubrir tu cuerpo lo más posible con ropa que se puede manchar.
Puedes proteger tus brazos de la pintura con guantes, o con bolsas, como lo hice yo. También ayuda poner algún tipo de pañuelo o sombrero en la cabeza para protegerte el pelo.

4.       Opcional: Pinta dos capas de pintura magnética, esperando 30 minutos después de cada capa, y luego 4 horas antes de empezar con la pintura de pizarrón.  

Usa trazos uniformes y nivelados para que todo quede parejo.  Usa la brocha para extender la pintura hasta las orillas.

5.       Pon dos capas de pintura de pizarrón, esperando 4 horas entre las capas.

6.       Espera 3 días después de poner la última capa de pintura. 

7.       Para condicionar tu pizarrón, pasa un gis sobre todo el pizarrón, y luego bórralo antes de usarlo.

8.       ¡Escribe, dibuja, pon imanes…. Lo que tú quieras!


Les dejo ejemplos de cómo usé mis pizarrón magnético aquí:
Un diseño inspirador

Imanes en mi pizarrón magnético

Image
Image
Image
Image
Image
Image
Image
Image
In do-it-yourself, fun, home, Projects, video Tags bilingual, blackboard, chalk, chalkboard art, Chalkboard wall, DIY, español, home decor, magnetic, make your own, paint, pizarrón, rust-oleum, tutorial
11 Comments

Latest Posts

Featured
Dec 19, 2018
La vie en rose
Dec 19, 2018
Dec 19, 2018
Dec 19, 2018
Starbucks Mermaid Costume / Disfraz de la Sirena de Starbucks
Dec 19, 2018
Dec 19, 2018
Aug 22, 2018
Liquid Copper + Philosophy
Aug 22, 2018
Aug 22, 2018
Mar 6, 2018
The "Silverlake" of Houston?
Mar 6, 2018
Mar 6, 2018
Oct 5, 2017
90's grunge + obsessions
Oct 5, 2017
Oct 5, 2017
Jul 7, 2017
500K Subscribers!?
Jul 7, 2017
Jul 7, 2017
Feb 12, 2017
Winter? What Winter?
Feb 12, 2017
Feb 12, 2017
Dec 13, 2016
DIY Star Tree Topper
Dec 13, 2016
Dec 13, 2016
Nov 1, 2016
Ursula making waves!
Nov 1, 2016
Nov 1, 2016
Oct 3, 2016
Carli Bybel x Missguided x Downtown Houston
Oct 3, 2016
Oct 3, 2016

Powered by Squarespace